Easy Home-Canned Green Beans: Your Step-by-Step Pressure Canning Guide
There’s a profound satisfaction that comes with stocking your pantry with wholesome, homemade food, and canning green beans is a classic homestead skill that connects us with generations of food preservers. When your garden yields a bounty of tender green beans – or you find an unbeatable deal at the farmer's market – preserving them through pressure canning ensures you can enjoy that fresh-picked flavor all year long. Knowing exactly what goes into each jar, free from mystery additives, makes home-canned green beans a truly superior product compared to their store-bought counterparts. They’re fresher, often firmer, and undeniably more flavorful. If you're wondering how to can green beans safely and efficiently, you've come to the right place. This comprehensive guide will walk you through the entire process, whether you're a seasoned canner seeking a refresher or entirely new to the rewarding world of pressure canning.Why Home-Canned Green Beans Are a Pantry Essential
Beyond the sheer convenience of having ready-to-eat vegetables on hand, home-canned green beans offer a taste and quality that’s simply unmatched. Imagine reaching into your pantry on a cold winter day and pulling out a jar of vibrant green beans, bursting with garden-fresh flavor. This isn't just about convenience; it's about food security, self-sufficiency, and a deeper connection to your food source. For many, the act of canning is a cherished ritual, a tangible link to ancestral practices. The rhythmic hum of the pressure canner and the satisfying "ping" of lids sealing are more than just sounds; they're the symphony of successful preservation. Remember, plain green beans are a low-acid food, which means they *must* be processed in a pressure canner to eliminate the risk of botulism. While pickled green beans can be safely water bath canned due to the added acidity of vinegar, for preserving fresh green beans in their natural state, a pressure canner is non-negotiable for safety.Essential Equipment for Safe Green Bean Canning
Before you even touch a bean, gathering and preparing your canning equipment is crucial. A smooth canning process relies on having everything ready and in good working order. Here’s what you’ll need to successfully pressure can green beans:- Pressure Canner: This is the most critical piece of equipment. Ensure yours is in good condition, with a functioning gauge (dial gauges should be tested annually) and a clean, pliable gasket.
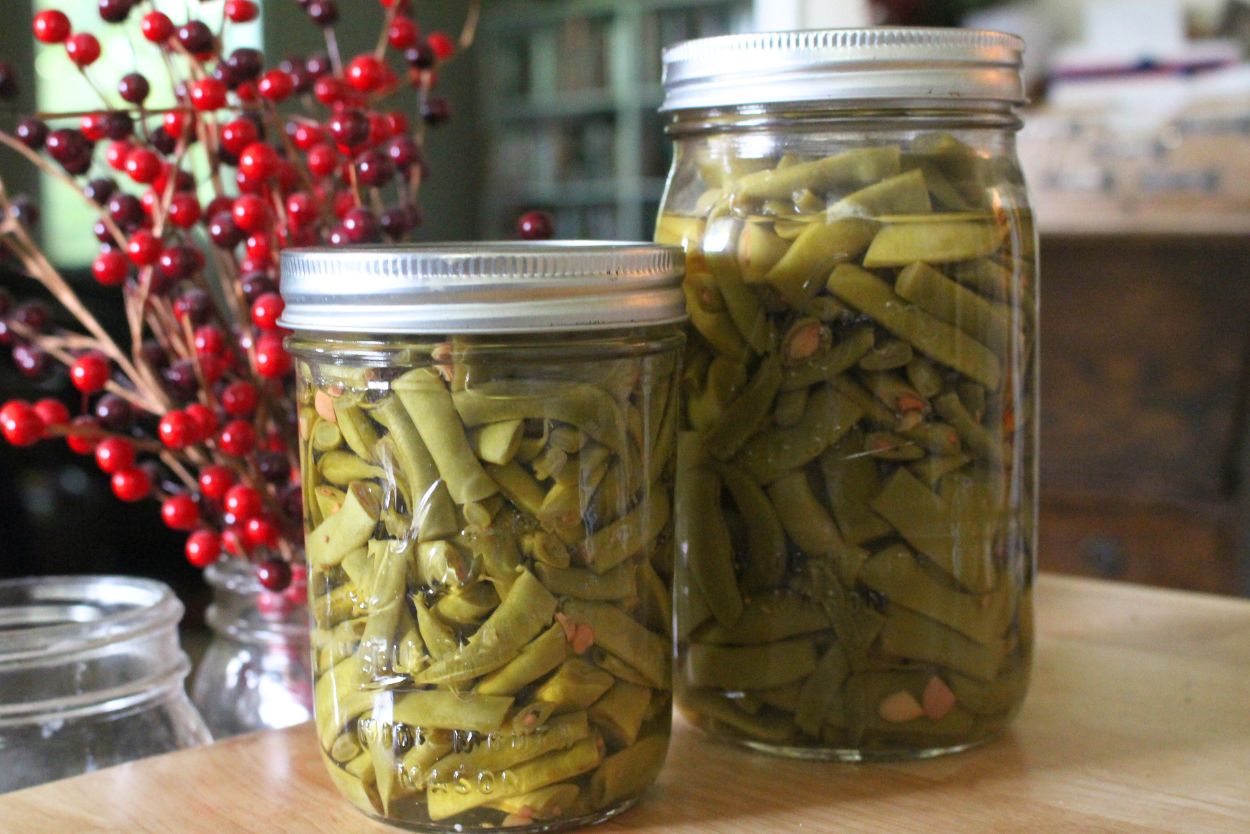
- Canning Jars: Pint or quart-sized jars are standard. Make sure they are specifically designed for canning (Mason jars) and free from chips or cracks. They should be washed thoroughly and kept warm before packing.
- Two-Piece Lids: Consisting of a flat lid and a screw band. New flat lids are essential for each canning session, as the sealing compound can only be reliably used once. Screw bands can be reused indefinitely as long as they aren't rusted or bent.
- Jar Lifter: A specialized tool with rubber-coated grips to safely lift hot jars in and out of the canner.
- Magnetic Lid Lifter: Helps retrieve hot, sterilized lids from warm water without contaminating them.
- Wide-Mouth Funnel: Makes filling jars much cleaner and easier, preventing spills on the rim.
- Ladle: For adding boiling water or broth to your packed jars.
- Small Dish Cloths or Paper Towels: Essential for wiping jar rims clean before placing lids. Even a tiny bit of food residue can prevent a proper seal.
- Chopstick or Thin Spatula: To release trapped air bubbles from packed jars.
- Hot Pads/Oven Mitts: For handling hot jars, lids, and canner parts.
- Canning Salt (Optional): Use non-iodized canning or pickling salt. Regular iodized table salt can cause discoloration and cloudiness in your beans. Use ½ tsp per pint or 1 tsp per quart, or omit entirely if preferred. It's primarily for flavor and not necessary for preservation.
Raw Pack vs. Hot Pack: Choosing Your Method
When learning how to can green beans, you'll encounter two primary packing methods: Raw Pack and Hot Pack. Both are safe and approved by the USDA, and the processing times remain the same for either method. Your choice often comes down to personal preference and the texture you desire in your finished product. For a deeper dive into these methods, including their advantages and disadvantages, check out our guide on Raw Pack vs. Hot Pack: Canning Green Beans for Optimal Freshness.Raw Pack Method
In the raw pack method, fresh, room-temperature green beans are packed directly into jars, then covered with boiling water or broth. This method is generally quicker and less labor-intensive, making it a favorite for handling large harvests. The primary trade-off is that beans packed raw may shrink a bit more during processing, potentially leaving more headspace in the jar and a slightly softer texture. However, for sheer speed and simplicity, it's hard to beat.
Hot Pack Method
The hot pack method involves pre-cooking your green beans for about five minutes in boiling water before packing them into jars. This pre-cooking helps the beans retain their color and firmer texture better after processing and reduces shrinkage in the jar. While it adds an extra step and requires handling hot food, many canners prefer the final texture and appearance of hot-packed beans. Some varieties, like the Purple Podded Pole Beans mentioned in our reference (which turn green when cooked or canned), can particularly benefit from hot packing to ensure vibrant color retention.
I personally lean towards the raw pack method when canning a significant amount of green beans, simply because it streamlines the process when I'm working with a large volume of produce. Juggling hot beans and boiling liquid can be cumbersome, and the slight difference in texture is one I'm willing to accept for the added convenience. Ultimately, both methods are safe, so choose the one that aligns best with your comfort level and desired outcome.
Step-by-Step Guide: How to Can Green Beans (Raw Pack Method)
This guide focuses on the raw pack method for its ease and efficiency. Make sure all your equipment is clean and ready before you begin, as you'll want to move quickly once you start packing.Step 1: Prepare Your Green Beans
Select fresh, tender green beans. Avoid any that are tough, discolored, or showing signs of insect damage. Bush beans and pole beans (like Emerite pole beans, a common favorite for their extended harvest season) are both excellent choices. Aim for about 1 pound of green beans per pint jar, or 1 ½ pounds per quart jar.
- Wash Thoroughly: Rinse your beans under cold running water to remove any dirt or debris.
- Trim Ends: Snap or trim both ends of the beans. You can leave them whole or snap/cut them into 1-inch pieces, depending on your preference.
Step 2: Prepare Jars and Lids
- Wash Jars: Wash your canning jars in hot, soapy water, or run them through a dishwasher cycle. Keep them warm until ready to fill to prevent thermal shock when adding hot liquid.
- Prepare Lids: Follow the manufacturer's instructions for preparing your new flat lids. Typically, they are simmered in hot (not boiling) water to soften the sealing compound. Screw bands just need to be clean.
- Boil Water: Have a pot of water boiling on the stovetop to pour over your packed beans.
Step 3: Pack Jars
- Add Salt (Optional): Place ½ tsp of canning salt in each pint jar, or 1 tsp in each quart jar.
- Pack Beans: Tightly pack the prepared green beans vertically or horizontally into the warm jars, leaving a 1-inch headspace from the top of the jar rim.
- Add Hot Liquid: Pour the boiling water over the beans, maintaining the 1-inch headspace.
- Remove Air Bubbles: Use a chopstick or thin spatula to gently work around the inside of the jar, releasing any trapped air bubbles. Add more boiling water if necessary to restore the 1-inch headspace.
- Clean Rims: Wipe the rims of each jar thoroughly with a clean, damp cloth. Any food residue can prevent a proper seal.
- Apply Lids and Bands: Center a warm, flat lid on each jar, then screw on a band until it is fingertip tight (snug, but not overly tightened).
Step 4: Load and Process in the Pressure Canner
- Add Water to Canner: Place the rack in the bottom of your pressure canner. Add 2-3 inches of hot water to the canner (refer to your canner's manual for exact amounts).
- Load Jars: Carefully place the filled jars onto the rack in the canner using your jar lifter. Ensure jars do not touch each other.
- Secure Lid: Place the lid on the pressure canner and lock it into place according to your canner's instructions.
- Vent Steam: Turn the heat to high. Allow a steady stream of steam to vent from the canner for 10 minutes. This purges air from the canner, which is vital for safe processing.
- Bring to Pressure: Place the weighted gauge or close the vent. Allow the pressure to rise to the recommended PSI (pounds per square inch) for your altitude and canner type. Consult the USDA's canning guidelines or your local extension office for specific pressure settings, as these vary.
- For dial gauge canners: Process at 11 pounds pressure at sea level.
- For weighted gauge canners: Process at 10 pounds pressure at sea level.
- Process: Once the correct pressure is reached, begin timing. For pints, process for 20 minutes. For quarts, process for 25 minutes. Maintain a consistent pressure throughout the entire processing time, adjusting the heat as needed.
- Depressurize Naturally: Once the processing time is complete, turn off the heat. Allow the canner to cool down and depressurize naturally. Do NOT try to rush this process by opening the vent or cooling with water, as this can be dangerous and cause jar seal failures. The pressure gauge should return to zero, and the locking mechanism (if present) should release before you attempt to open the lid.
Step 5: Cool and Store
- Remove Jars: Carefully remove the jars from the canner using your jar lifter. Place them on a towel-lined counter or a cooling rack, ensuring they are not touching.
- Cool: Allow the jars to cool undisturbed for 12-24 hours. You'll likely hear the satisfying "ping" sound as the lids seal.
- Check Seals: After cooling, check each jar for a proper seal. The center of the lid should be concave (curved inward) and not flex when pressed. If a jar hasn't sealed, refrigerate it and consume its contents within a few days, or reprocess it within 24 hours with a new lid (after inspecting the jar rim for flaws).
- Label and Store: Remove the screw bands (they can be reused). Wash the sealed jars to remove any residue, then label them with the contents and date. Store in a cool, dark place for optimal quality.
